Skin Editor Guide
Everything you need to know to create amazing Minecraft skins. No experience with graphics software needed.
Open Skin Editor1. Getting Started
Minecraft skins are 64x64 pixel images that wrap around your player model. Each part of the image maps to a body part: head, torso, arms, and legs. The skin also has an outer overlay layer for things like hats, jackets, or sleeves.
When you open the editor, you start with a blank skin. You can either draw from scratch, load a template, or search for any player's existing skin to use as a starting point.
Top
Front
Side
Overlay
Leg
Front
Arm
Arm
Overlay
Overlay
Overlay
Overlay
2. The Interface
The editor has four main areas:
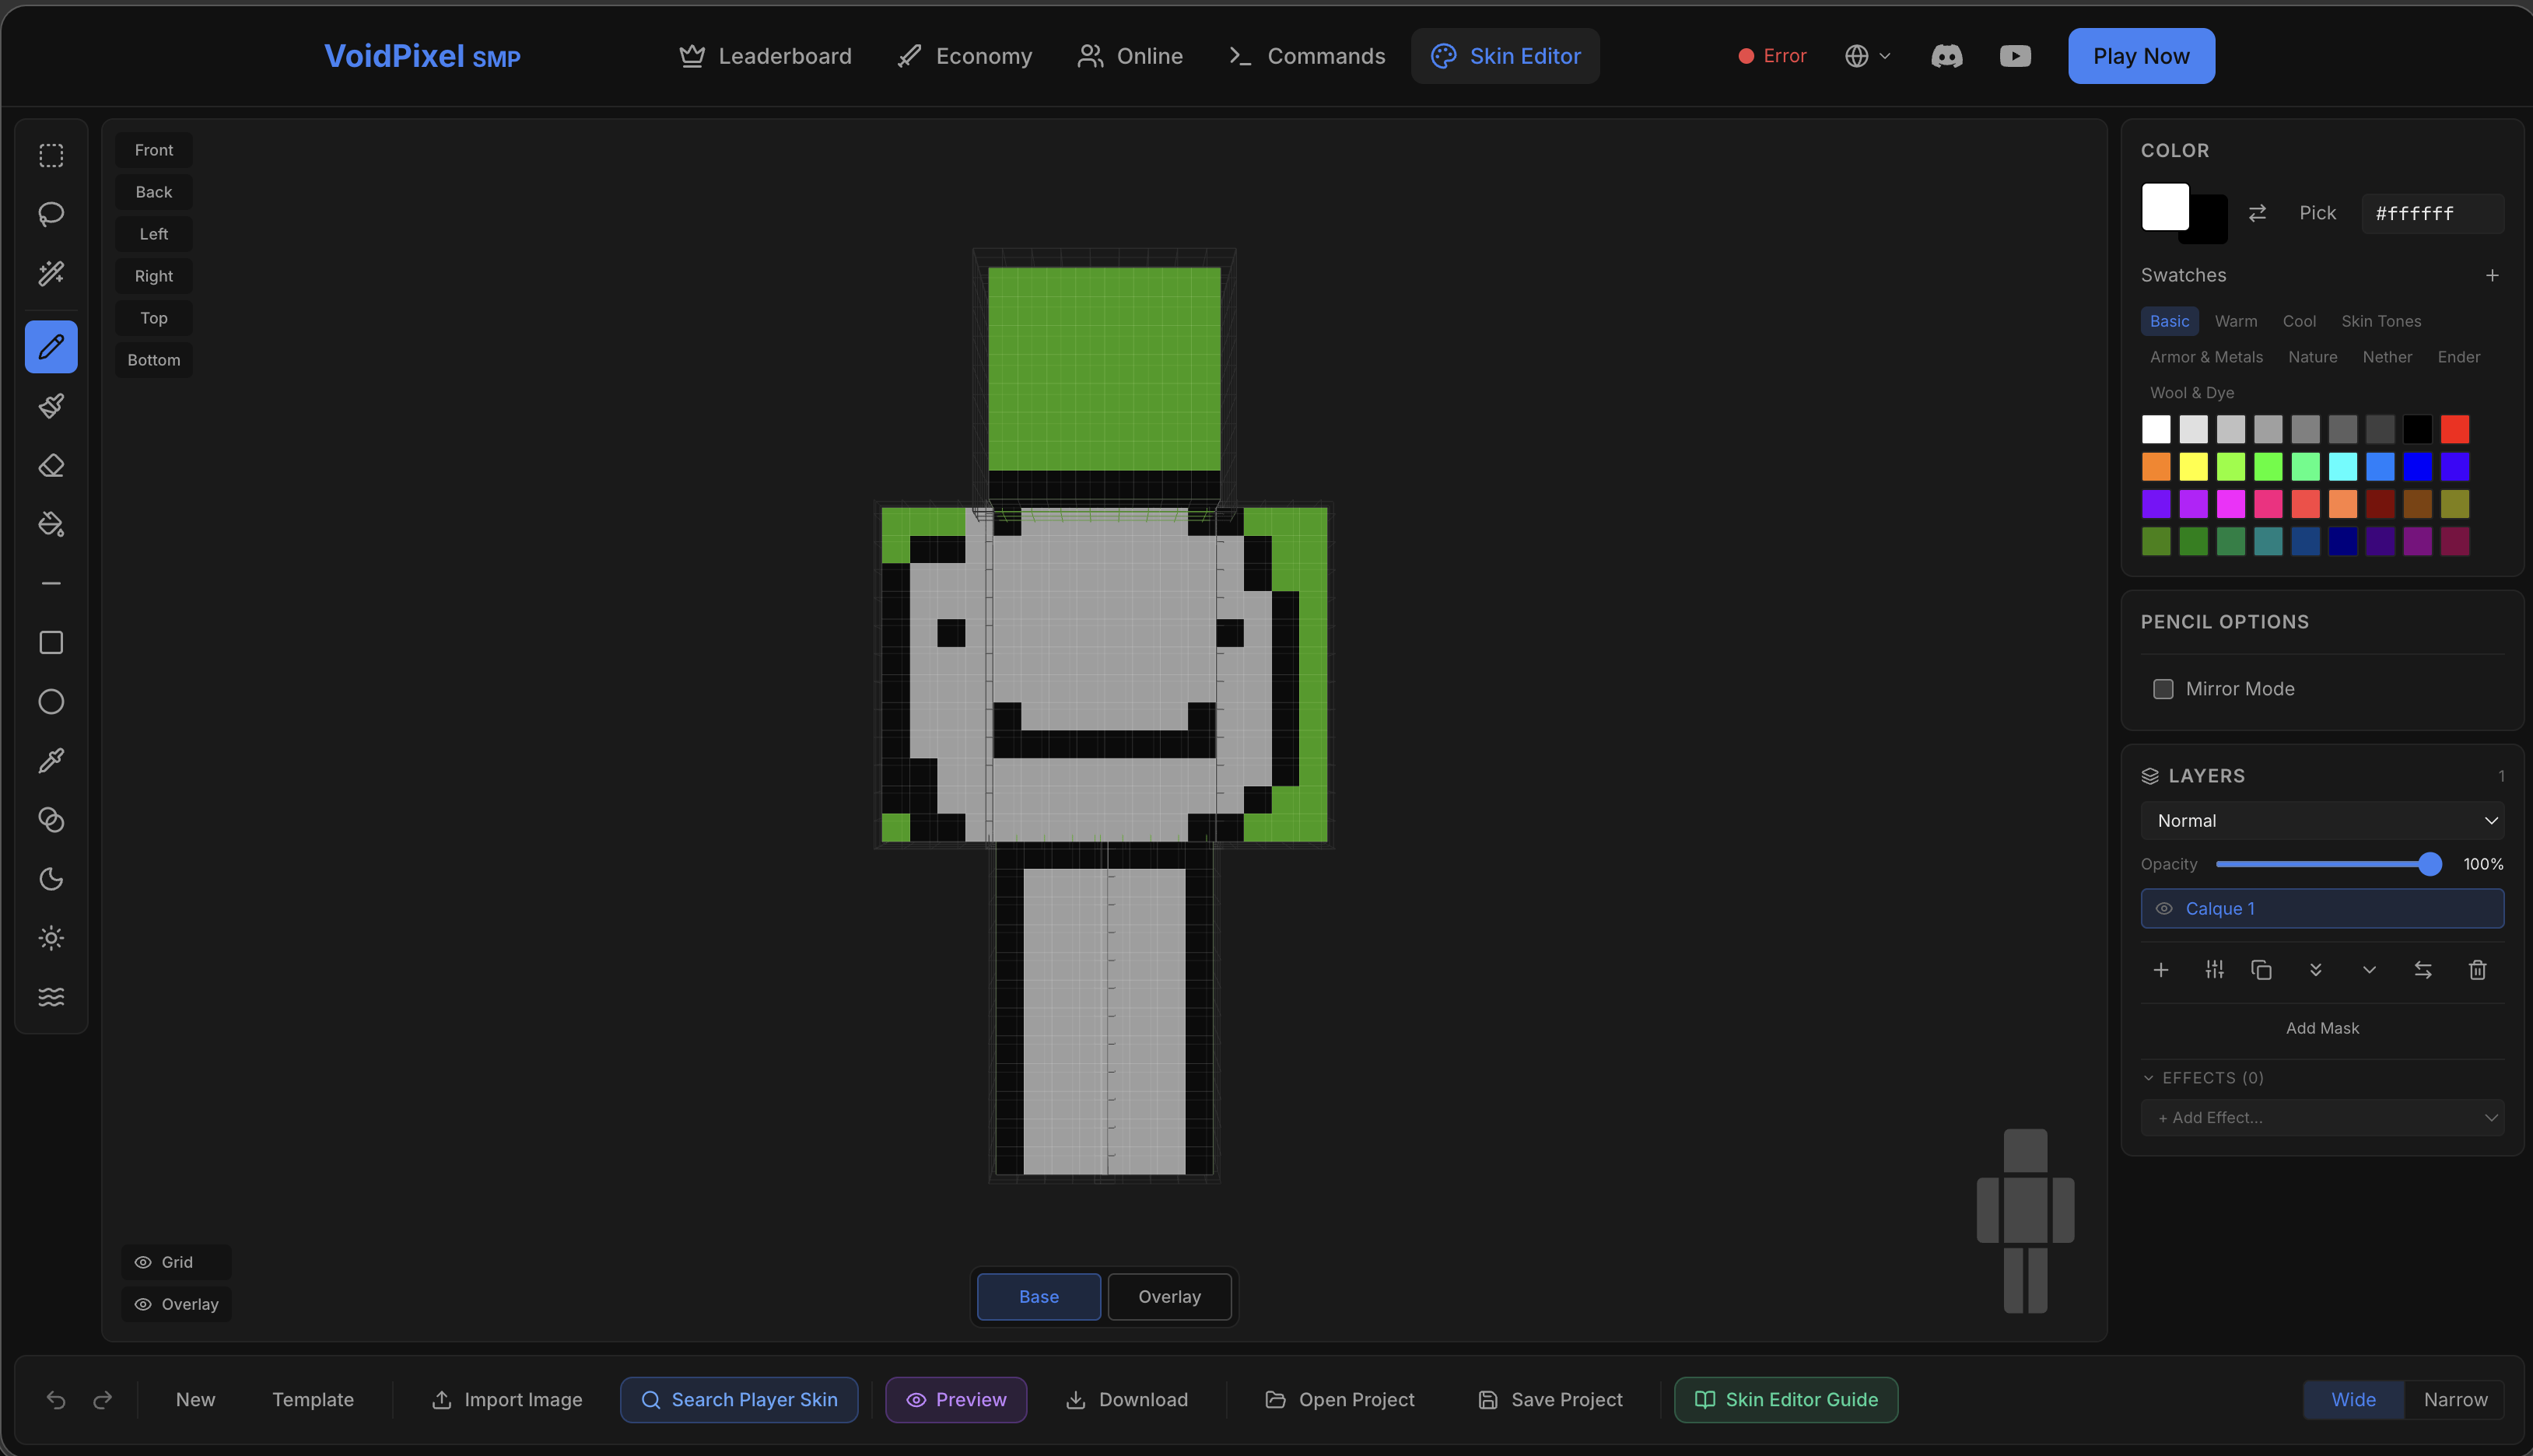
All your drawing tools. Hover over each one to see its name and keyboard shortcut.
Click directly on the 3D player model to draw. Right-click and drag to rotate the view. Scroll to zoom.
Color picker, tool options (size, shape, etc.), and the layer stack. These change based on what tool you have selected.
Undo/redo, new skin, upload, search player skins, preview, download, and project save/load.
3. Drawing Tools
Click on a tool in the toolbar, or press its keyboard shortcut to switch to it. Then click on the 3D model to start drawing.

| Tool | Key | What it does |
|---|---|---|
| Pencil | B | Draw individual pixels. The most basic tool. Great for detail work. |
| Brush | - | Paint with a larger brush. Adjust size and hardness in the options panel. Soft edges blend nicely. |
| Eraser | E | Make pixels transparent. Works like a brush but removes color instead of adding it. |
| Fill (Bucket) | G | Fill a connected area with your current color. Adjust tolerance to control how much color variation it fills. |
| Line | L | Draw straight lines. Hold Shift to snap to 45-degree angles. |
| Rectangle | R | Draw rectangles. Toggle between filled and outline modes. Hold Shift for perfect squares. |
| Ellipse | O | Draw circles and ovals. Hold Shift for a perfect circle. Toggle filled/outline. |
| Eyedropper | I | Click any pixel to copy its color. Also works by holding Alt while using any tool. |
| Gradient | D | Create smooth color transitions. Choose linear or radial mode. Customize color stops in the options panel. |
| Shade | U | Darken pixels by painting over them. Great for adding shadows to your skin. |
| Lighten | J | Brighten pixels by painting over them. Use this to add highlights. |
| Noise | N | Add random texture/grain to an area. Great for making fabrics, stone, or dirt look more natural. |
Tool Options
When you select a tool, its options appear in the right panel. Here are the most common options:
How big the brush is. Use [ and ] to quickly make it smaller or bigger.
How sharp the brush edge is. 100% = pixel-perfect edge. Lower values give a soft, fading edge.
For Fill and Magic Wand: how similar colors need to be. Low = exact match only. High = catches similar colors too.
When enabled, everything you draw is automatically mirrored to the other side of the body. Perfect for symmetrical skins.
4. Selection Tools
Selections let you isolate an area so you only affect those pixels. Once you have a selection, any drawing or editing only applies inside it.
| Tool | Key | What it does |
|---|---|---|
| Rectangle Select | M | Select a rectangular area by clicking and dragging. |
| Lasso Select | F | Draw a freeform selection by clicking and dragging around the area you want. |
| Magic Wand | W | Click a pixel to select all similar-colored connected pixels. Adjust tolerance to be more or less strict. |
You can also copy (Ctrl+C), cut (Ctrl+X), and paste (Ctrl+V) selected areas. Pasted content appears as a floating selection you can position before confirming.
5. Colors & Palettes
The color panel on the right side has everything you need to pick and manage colors.
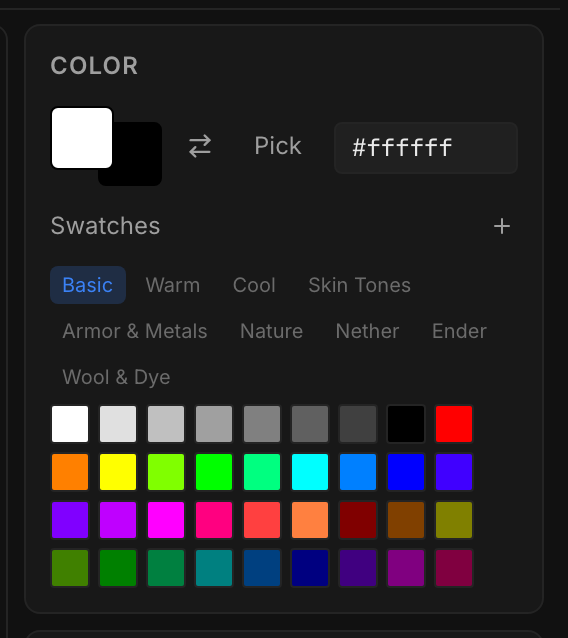
Preset Palettes
Click the palette tabs to switch between color sets designed for different needs:
6. Layers
If you've ever used Photoshop or GIMP, you'll feel right at home. If not, think of layers like transparent sheets stacked on top of each other. You can draw on each sheet separately, and they all combine to form the final skin.
This is incredibly useful. For example, you could put your base skin on one layer, armor details on another, and a hat on a third. You can hide, rearrange, or delete any layer without affecting the others.
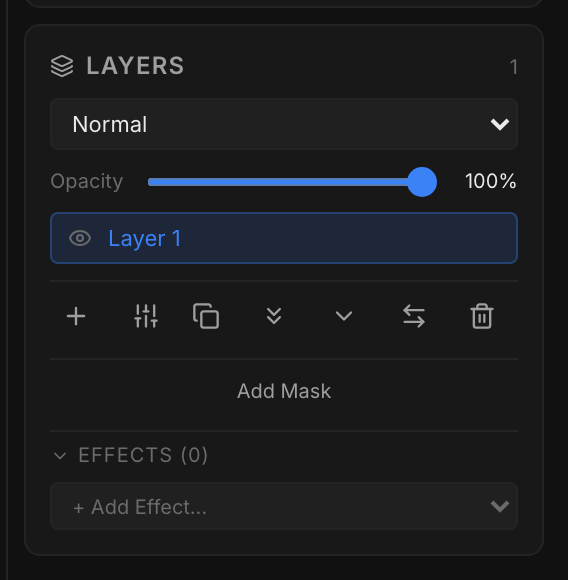
What you can do with layers
Click + to add a new blank layer on top. Select a layer and click the trash icon to remove it.
Drag layers up or down to change their stacking order. The top layer covers what's below it.
Slide the opacity slider to make a layer semi-transparent. Great for subtle shading or ghostly effects.
Change how a layer mixes with the ones below: Normal, Multiply (darken), Screen (lighten), Overlay, and more.
Click the eye icon to hide/show a layer. Alt+click the eye to solo a layer (hide everything else).
Duplicate a layer to experiment safely. Merge Down combines two layers into one. Flatten merges everything.
Layer Masks
A mask is like an invisible stencil on a layer. White parts of the mask show the layer, black parts hide it, and gray makes it semi-transparent. This lets you non-destructively hide parts of a layer without actually erasing anything.
Right-click a layer and select Add Mask. Then toggle between editing the mask and the layer content using the buttons that appear.
7. Effects & Adjustments
Effects are live filters applied to a layer. They're non-destructive, meaning you can turn them on/off or change their settings at any time without losing any work.
Layer Effects
Click + Add Effect in the layer panel to add one of these:
| Effect | What it does | Great for |
|---|---|---|
| Outer Glow | Adds a colored glow around the outside of your pixels | Glowing eyes, magic effects, neon outlines |
| Inner Glow | Adds a glow on the inside edges of your pixels | Subtle highlights, gem effects |
| Stroke (Outline) | Adds a solid outline around your pixels | Clean borders, cartoon style skins |
| Drop Shadow | Adds a shadow behind your pixels | Depth, raised elements, text on skins |
| Color Overlay | Tints the entire layer with a color | Quick recoloring, team colors |
| Gradient Overlay | Applies a gradient across the layer | Sunset effects, ombre clothing |
| Gaussian Blur | Softly blurs the layer | Soft shading, backgrounds |
| Motion Blur | Directional blur at an angle | Speed lines, wind effects |
Adjustment Layers
Adjustment layers modify all layers below them. Click the adjustment icon to add one:
Make the skin brighter or darker, and increase or decrease the difference between light and dark areas.
Shift all colors around the color wheel (hue), or make colors more vivid or more muted (saturation).
Flip all colors to their opposite. White becomes black, red becomes cyan, etc.
8. Import & Export
The bottom bar has all the buttons for getting skins in and out of the editor.

Getting skins into the editor
New creates a blank transparent skin. Template starts with a default Steve skin you can customize.
Upload any PNG file. If it's a standard 64x64 skin, it loads directly. Other sizes enter placement mode where you can position and scale the image.
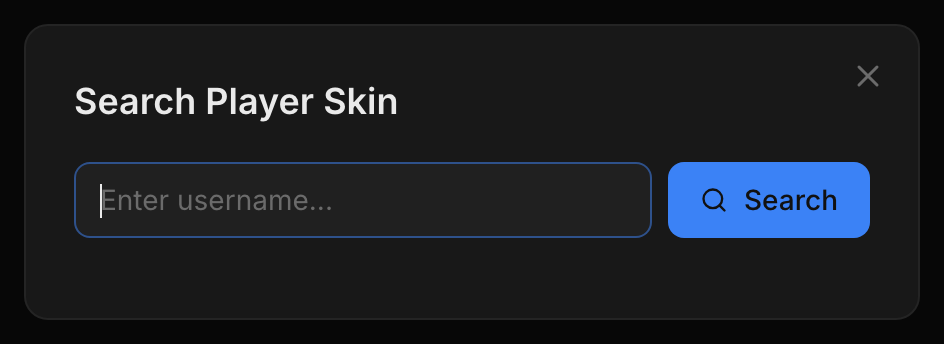
Type any Minecraft username and the editor will fetch their current skin from Mojang's servers. You can import it as a new project or as a new layer on top of your current work.
You can also drag a PNG file directly onto the editor window to import it.
Load a previously saved .json project file with all your layers, effects, and settings intact.
Getting skins out of the editor
Saves the final skin as a skin.png file (64x64 PNG). All layers are flattened into one image. This is the file you upload to Minecraft.
Saves your entire project as a .json file, preserving all layers, effects, adjustments, and settings. Use this if you want to come back and edit later.
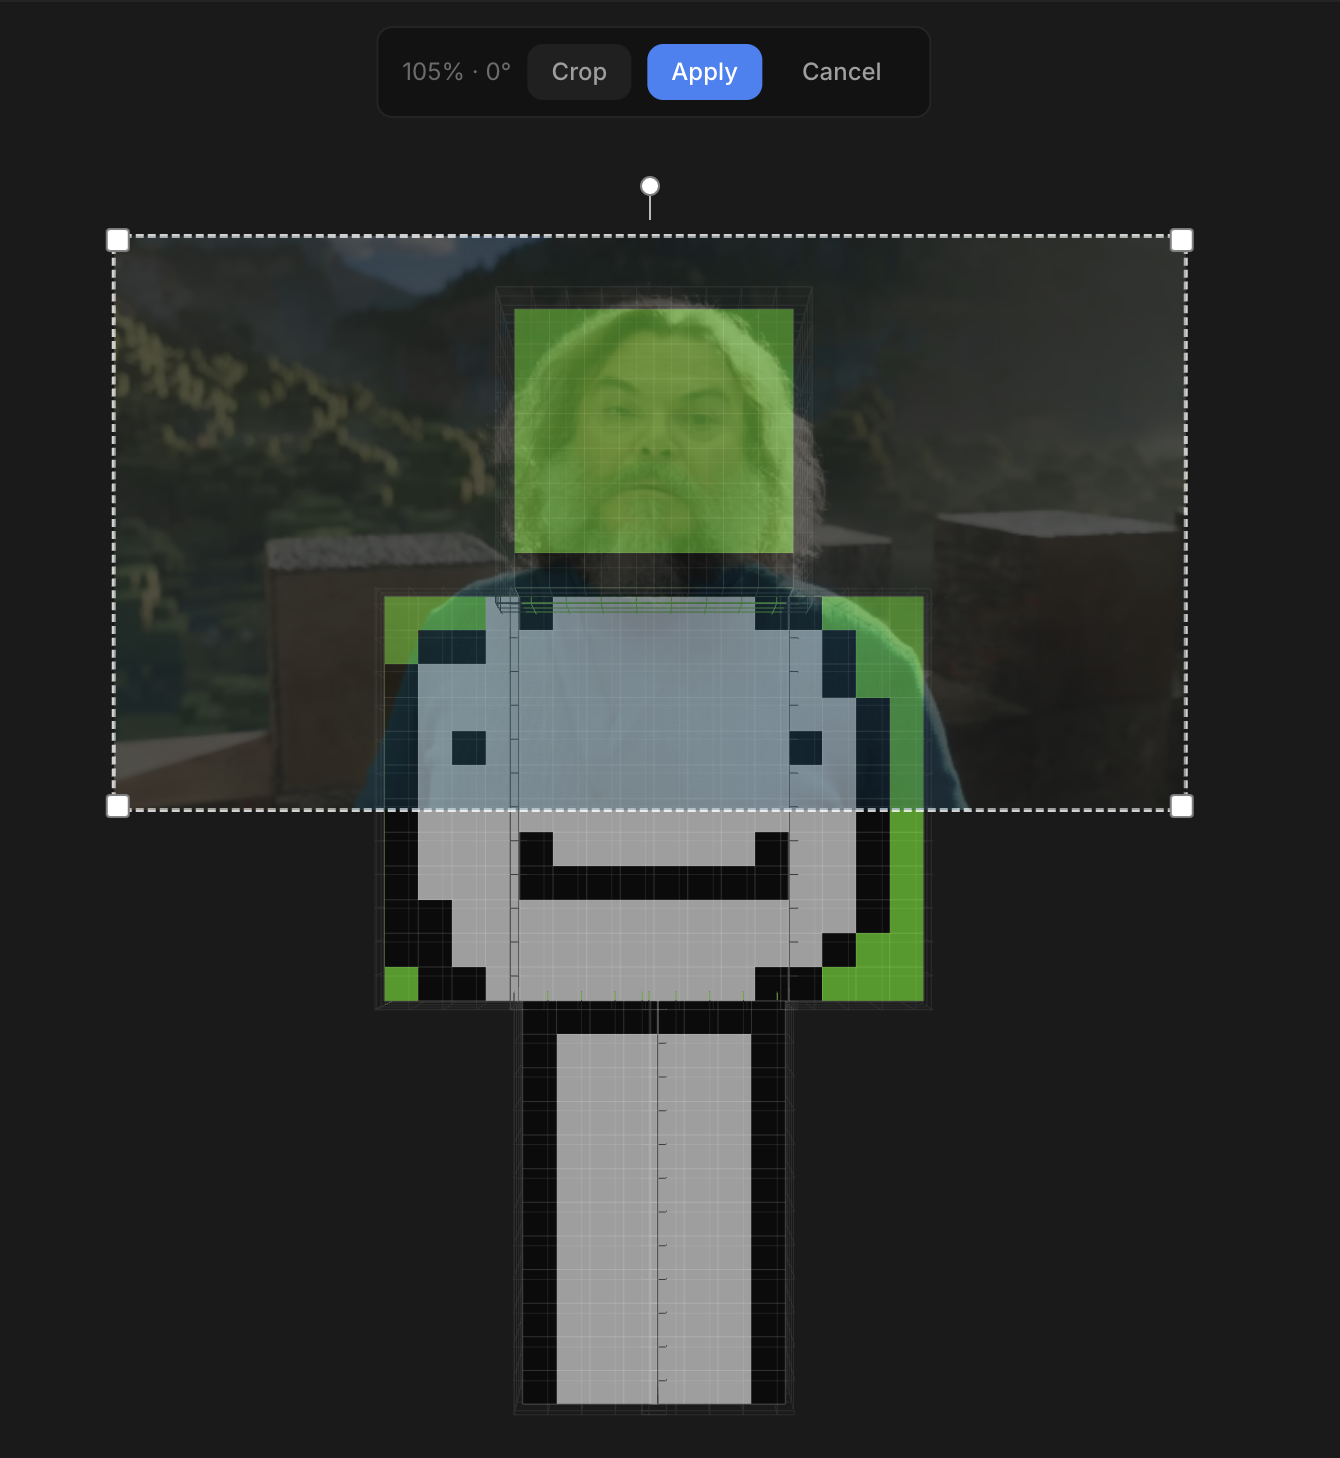
Image Projection
One of the most powerful features of the editor is image projection. When you import any image that isn't a standard 64x64 skin — such as a logo, pattern, or photo — it enters placement mode.
In placement mode, the image appears as a floating overlay on the 3D model. You can drag it to reposition, scroll to resize, and rotate the 3D model to aim the projection at different body parts. When you click Apply, the image is projected onto the skin texture like a decal — it wraps around the 3D surface and stamps onto the active layer.
This makes it easy to apply logos, faces, textures, or any artwork directly onto your skin without manually painting pixel by pixel.
Model Type
On the right side of the bottom bar, you can switch between Wide (classic Steve model with 4-pixel wide arms) and Narrow (Alex model with 3-pixel wide arms). Make sure this matches the model type you've set in your Minecraft profile.
9. 3D Preview
Press P or click the Preview button to open a fullscreen 3D preview of your skin. This shows exactly how your skin will look in Minecraft, with proper lighting and animation.
Preview controls
Click and drag to rotate around the model. Scroll to zoom in/out. Use arrow keys to pan.
Choose from Day, Sunset, Nether, End, or None. You can also load a custom HDRI file for realistic lighting.
Click the sun icon to adjust brightness of the scene. Useful when checking how your skin looks in different lighting.
Toggle automatic spinning so you can see all sides of your skin without touching the mouse.
Press Escape to close the preview and return to editing.
10. Keyboard Shortcuts
Press ? in the editor to see all shortcuts. Here's the full reference: